-
Mac OS 포맷 및 클린설치Mac의 온도 2021. 5. 20. 18:58
Xcode의 각종 오류와 깃의 연동 오류로 자주 포맷을 하는 입장에서 매번 설정을 다시 하는 문제로 필자의 포맷 및 재설치 후 설정 과정을 적어놓는다.
이 방법은 안정성을 우선하여 온라인으로 OS를 다운로드 하는것이 아닌 부팅디스크를 생성하여 오프라인 설치하는 것을 전제로 한다.우선 외장하드 및 USB를 맥에 마운트 후 설정 -> 디스크 유틸리티 -> 외장 디스크에 진입하고 오른쪽 화면에서 지우기를 누르면 포맷 유형을 선택할 수 있는데 반드시 "Mac Os 확장(저널링)"을 선택한다.
(만약 위 과정에서 "Mac Os 확장(저널링)"이 보이지 않는다면 지우기 왼쪽에 파티션을 눌러 선택할 수 있다.)
https://support.apple.com/ko-kr/HT201372
이곳에 접속하여 원하는 OS를 다운로드 후 USB를 마운트하여 드라이브 이름을 MyVolume으로 변경한 후 터미널에 다음 명령어를 입력한다.(MyVolume이 아닌 다른 이름을 사용할 경우 띄어쓰기가 있을 때는 "" 표시를 반드시 드라이브 이름 앞뒤로 붙여주어야 한다.)
$ sudo /Applications/Install\ macOS\ Monterey.app/Contents/Resources/createinstallmedia --volume /Volumes/MyVolume
부팅디스크 제작이 완료되고 USB를 삽입 한 채로 재시작과 동시에 Option키를 누르면 부팅할 디스크를 선택하게 된다.
USB 드라이브를 누르면 디스크 유틸리티가 나오게 되는데 주의할 점은 아래와 같다.- macintosh HD - 데이터 클릭 후 편집 -> APFS 볼륨 삭제 -> 삭제(볼륨 삭제 X)
- macintosh HD 클릭 후 지우기 -> 에러시 재부팅
설치 후에는 편의 설정을 마치고 Terminal을 실행하고 아래 명령어들을 통해 마지막 로그인 알림 문장 제거, 배너 알림시간을 조정한다.
$ touch ~/.hushlogin

$ defaults write com.apple.notificationcenterui bannerTime 3
// 시스템 재시작 필요
설치가 끝나면 brew update 명령으로 업데이트 후 brew install cask, brew install mas를 입력하여 각각 설치한다.
다음으로 ssh 접속 자동화를 구축하기 위해 아래의 명령어로 ssh key를 생성한다.$ ssh-keygen -t rsa $ ssh-copy-id USERNAME@IP-ADDRESS
Time Machine 복구시 위 과정까지 복구 가능
iterm2를 설치 후 View 탭에 "Size Changes Update Profile"을 체크한 후 "⌘+" 키를 7번 누르면 창크기가 고정된다.
이후 아래의 첫번째 명령어로 Oh My Zsh를 설치한 후 두번째 명령어로 Powerlevel10k를 설치한다.
$ sh -c "$(curl -fsSL https://raw.githubusercontent.com/robbyrussell/oh-my-zsh/master/tools/install.sh)"

$ git clone https://github.com/romkatv/powerlevel10k.git $ZSH_CUSTOM/themes/powerlevel10k
설치가 완료되면 테마를 변경해준다.
$ open ~/.zshrc테마를 변경하면 Meslo 폰트를 설치할 것인지 묻고 설치를 하면 설정화면이 보이며 y-y-y-y-3-1-2-1-1-1-1-1-2-1-n-3-y 순서대로 키를 누르면 된다.
만약 실수로 다른 키를 눌러 설정이 잘못되거나 이후 설정을 바꾸고 싶다면 아래의 명령어로 다시 설정을 하면 된다.
$ p10k configure설정이 완료되면 "Insecure completion-dependent directories detected" 이라는 경고 메시지가 출력되는데 우선 아래의 명령어로 퍼미션 문제가 있는 디렉토리를 찾는다.
$ compauditOutput을 보고 디렉토리에 퍼미션 설정을 해주고 재시작을 해주면 경고 메시지가 사라진걸 볼수있다.
$ chmod 755 /usr/local/share/zsh

$ chmod 755 /usr/local/share/zsh/site-functions
brew doctor 명령으로 오류 수정 후 애플로고를 제거한 후 호스트도 제거한다.
$ brew doctor

$ print 'POWERLEVEL9K_MODE=nerdfont-complete\nPOWERLEVEL9K_LEGACY_ICON_SPACING=true' >~/.p10k.zsh && exec zsh

$ open ~/.zshrc
// 마지막 줄에 DEFAULT_USER=$(whoami) 삽입
기존 GitHub를 연결하는데 우선 Git Clone을 한후 SSH-Key 복사 명령으로 복사후 GitHub 에서 붙여넣기 한다.
$ git clone https://github.com/circumeo/Swift.git Users/greedist/Documents

$ pbcopy < ~/.ssh/id_rsa.pub
Git 설정을 차례대로 한다. (이메일을 잘못 입력할 시 푸시는 가능하지만 Contributions이 채워지지 않는다.)
$ git config --global user.name "circumeo"

$ git config --global user.email xxxxxx@outlook.kr

$ cd /Users/greedist/Documents/Xcode

$ git remote add origin 원격저장소 URL

$ git add Swift

$ git commit -am "no message"

$ git push
iterm 실행시 시작 경로 변경은 아래와 같은 순서로 진행한다.
Preferences -> Profiles -> Working Directory -> Directory 체크 -> /Users/greedist/Documents/Xcode 작성
포맷을 할 경우 간혹 Git 설정은 위 순서대로 되지 않고 문제가 일어날 경우가 많지만 너무 다양하기에 문제가 생기면 그때 다시 작성할 생각이다.
brew bundle 명령으로 패키지를 설치했다면 ".zshrc" 내용 중 "plugins" 항목과 텍스트 마지막에 아래 문장들을 추가해야 zsh plugin이 정상 작동하며 lsd 명령어를 편하게 사용할 수 있다.
$ open ~/.zshrc- plugins=(git autojump)
- source /usr/local/share/zsh-syntax-highlighting/zsh-syntax-highlighting.zsh
- source /usr/local/share/zsh-autosuggestions/zsh-autosuggestions.zsh
- ZSH_AUTOSUGGEST_HIGHLIGHT_STYLE='fg=23'
- alisas ls="lsd --tree --no-symlink" (하위 디렉토리를 오픈하는 정도는 ls --depth "숫자" 명령어를 이용한다.)
만약을 대비해 .zshrc 내용을 첨부해 놓았다.
더보기# Enable Powerlevel10k instant prompt. Should stay close to the top of ~/.zshrc.
# Initialization code that may require console input (password prompts, [y/n]
# confirmations, etc.) must go above this block; everything else may go below.
if [[ -r "${XDG_CACHE_HOME:-$HOME/.cache}/p10k-instant-prompt-${(%):-%n}.zsh" ]]; then
source "${XDG_CACHE_HOME:-$HOME/.cache}/p10k-instant-prompt-${(%):-%n}.zsh"
fi
# If you come from bash you might have to change your $PATH.
# export PATH=$HOME/bin:/usr/local/bin:$PATH
# Path to your oh-my-zsh installation.
export ZSH="/Users/greedist/.oh-my-zsh"
# Set name of the theme to load --- if set to "random", it will
# load a random theme each time oh-my-zsh is loaded, in which case,
# to know which specific one was loaded, run: echo $RANDOM_THEME
# See https://github.com/ohmyzsh/ohmyzsh/wiki/Themes
ZSH_THEME="powerlevel10k/powerlevel10k"
# Set list of themes to pick from when loading at random
# Setting this variable when ZSH_THEME=random will cause zsh to load
# a theme from this variable instead of looking in $ZSH/themes/
# If set to an empty array, this variable will have no effect.
# ZSH_THEME_RANDOM_CANDIDATES=( "robbyrussell" "agnoster" )
# Uncomment the following line to use case-sensitive completion.
# CASE_SENSITIVE="true"
# Uncomment the following line to use hyphen-insensitive completion.
# Case-sensitive completion must be off. _ and - will be interchangeable.
# HYPHEN_INSENSITIVE="true"
# Uncomment the following line to disable bi-weekly auto-update checks.
# DISABLE_AUTO_UPDATE="true"
# Uncomment the following line to automatically update without prompting.
# DISABLE_UPDATE_PROMPT="true"
# Uncomment the following line to change how often to auto-update (in days).
# export UPDATE_ZSH_DAYS=13
# Uncomment the following line if pasting URLs and other text is messed up.
# DISABLE_MAGIC_FUNCTIONS="true"
# Uncomment the following line to disable colors in ls.
# DISABLE_LS_COLORS="true"
# Uncomment the following line to disable auto-setting terminal title.
# DISABLE_AUTO_TITLE="true"
# Uncomment the following line to enable command auto-correction.
# ENABLE_CORRECTION="true"
# Uncomment the following line to display red dots whilst waiting for completion.
# Caution: this setting can cause issues with multiline prompts (zsh 5.7.1 and newer seem to work)
# See https://github.com/ohmyzsh/ohmyzsh/issues/5765
# COMPLETION_WAITING_DOTS="true"
# Uncomment the following line if you want to disable marking untracked files
# under VCS as dirty. This makes repository status check for large repositories
# much, much faster.
# DISABLE_UNTRACKED_FILES_DIRTY="true"
# Uncomment the following line if you want to change the command execution time
# stamp shown in the history command output.
# You can set one of the optional three formats:
# "mm/dd/yyyy"|"dd.mm.yyyy"|"yyyy-mm-dd"
# or set a custom format using the strftime function format specifications,
# see 'man strftime' for details.
# HIST_STAMPS="mm/dd/yyyy"
# Would you like to use another custom folder than $ZSH/custom?
# ZSH_CUSTOM=/path/to/new-custom-folder
# Which plugins would you like to load?
# Standard plugins can be found in $ZSH/plugins/
# Custom plugins may be added to $ZSH_CUSTOM/plugins/
# Example format: plugins=(rails git textmate ruby lighthouse)
# Add wisely, as too many plugins slow down shell startup.
plugins=(git autojump)
source $ZSH/oh-my-zsh.sh
# User configuration
# export MANPATH="/usr/local/man:$MANPATH"
# You may need to manually set your language environment
# export LANG=en_US.UTF-8
# Preferred editor for local and remote sessions
# if [[ -n $SSH_CONNECTION ]]; then
# export EDITOR='vim'
# else
# export EDITOR='mvim'
# fi
# Compilation flags
# export ARCHFLAGS="-arch x86_64"
# Set personal aliases, overriding those provided by oh-my-zsh libs,
# plugins, and themes. Aliases can be placed here, though oh-my-zsh
# users are encouraged to define aliases within the ZSH_CUSTOM folder.
# For a full list of active aliases, run `alias`.
#
# Example aliases
# alias zshconfig="mate ~/.zshrc"
# alias ohmyzsh="mate ~/.oh-my-zsh"
# To customize prompt, run `p10k configure` or edit ~/.p10k.zsh.
[[ ! -f ~/.p10k.zsh ]] || source ~/.p10k.zsh
DEFAULT_USER=$(whoami)export PATH="/usr/local/sbin:$PATH"
export PATH="/usr/local/sbin:$PATH"
DEFAULT_USER=$(whoami)
source /usr/local/share/zsh-syntax-highlighting/zsh-syntax-highlighting.zsh
source /usr/local/share/zsh-autosuggestions/zsh-autosuggestions.zsh
ZSH_AUTOSUGGEST_HIGHLIGHT_STYLE='fg=23'
alias ls="lsd --tree --no-symlink"⇧ + ⌘ + . 키를 눌러 숨겨진 폴더 및 파일을 노출시킨 후 아래 경로에 진입하여 구글 드라이버에서 BlankScreen.saver 파일을 붙여넣고 화면보호기 설정을 한다.
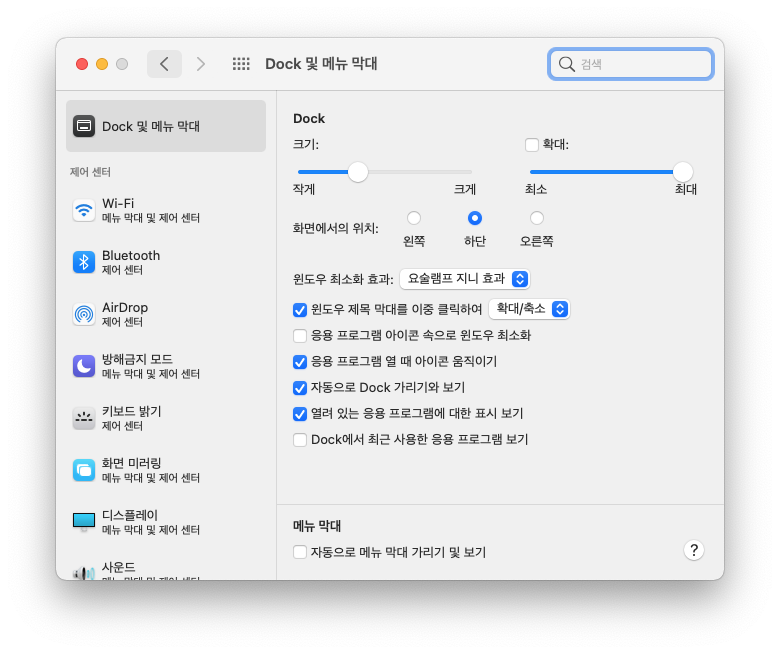
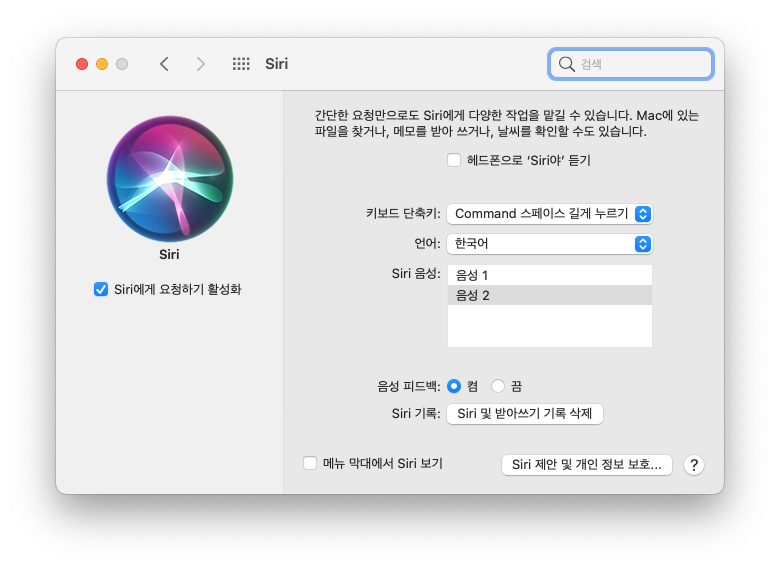
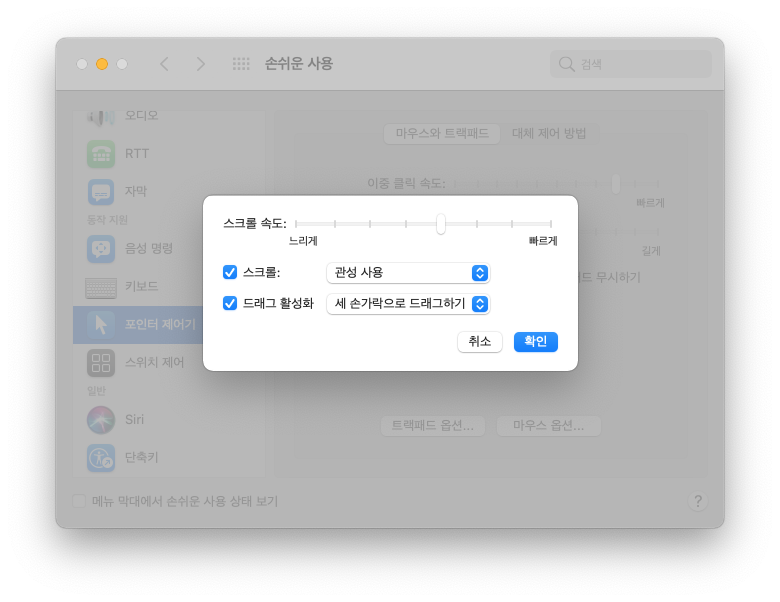
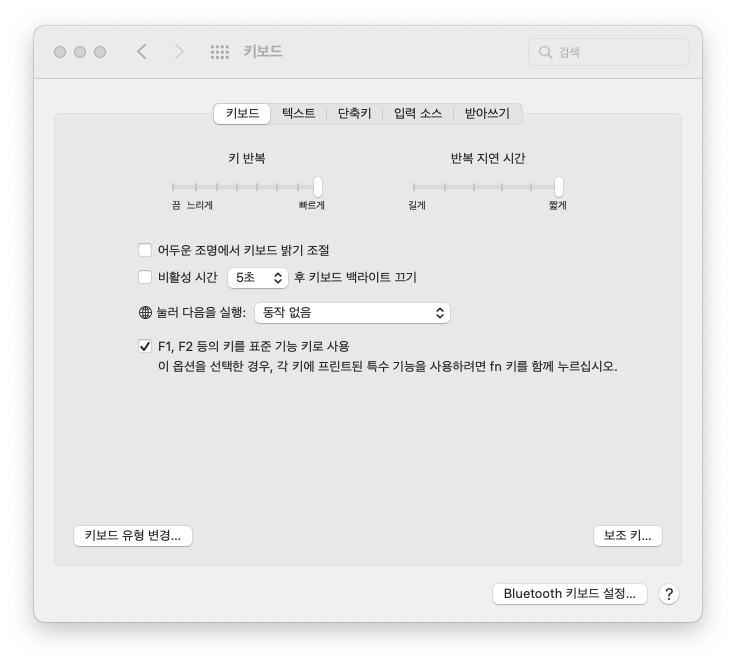
/Users/greedist/Library/Screen Savers아래 사항은 개인적으로 맥을 좀더 편리하게 사용하기 위한 셋팅이다.
'Mac의 온도' 카테고리의 다른 글
Mac 알림센터 배너 지속시간 변경하기 (0) 2022.07.25 yt-dlp 사용법 (0) 2022.07.13 vi, vim 사용법 (0) 2022.07.07 카카오톡 듀얼로 이용하기 (4) 2022.05.31 애플워치로 맥북 잠금 해제 시도 시 "Mac이 Apple Watch와 통신할 수 없습니다." 문제 해결 (0) 2021.12.02